2.5 Create Amazon Lex Bot
In this section, we will create a simple Amazon Lex bot to receive user input and provide appropriate responses.
Step 1: Edit the trust policy
- Go to IAM Roles and edit the current policy to allow access to Lex V2.
- Click the Trust Relationships tab, then click edit trust policy.
- Replace the old Service section with the following:
"Service": [
    "lambda.amazonaws.com",
    "lexv2.amazonaws.com"
]
- Click [Update Trust Policy] to save changes.
Step 2: Access the Lex Console
- Go to: https://console.aws.amazon.com/lexv2
- Click Create bot
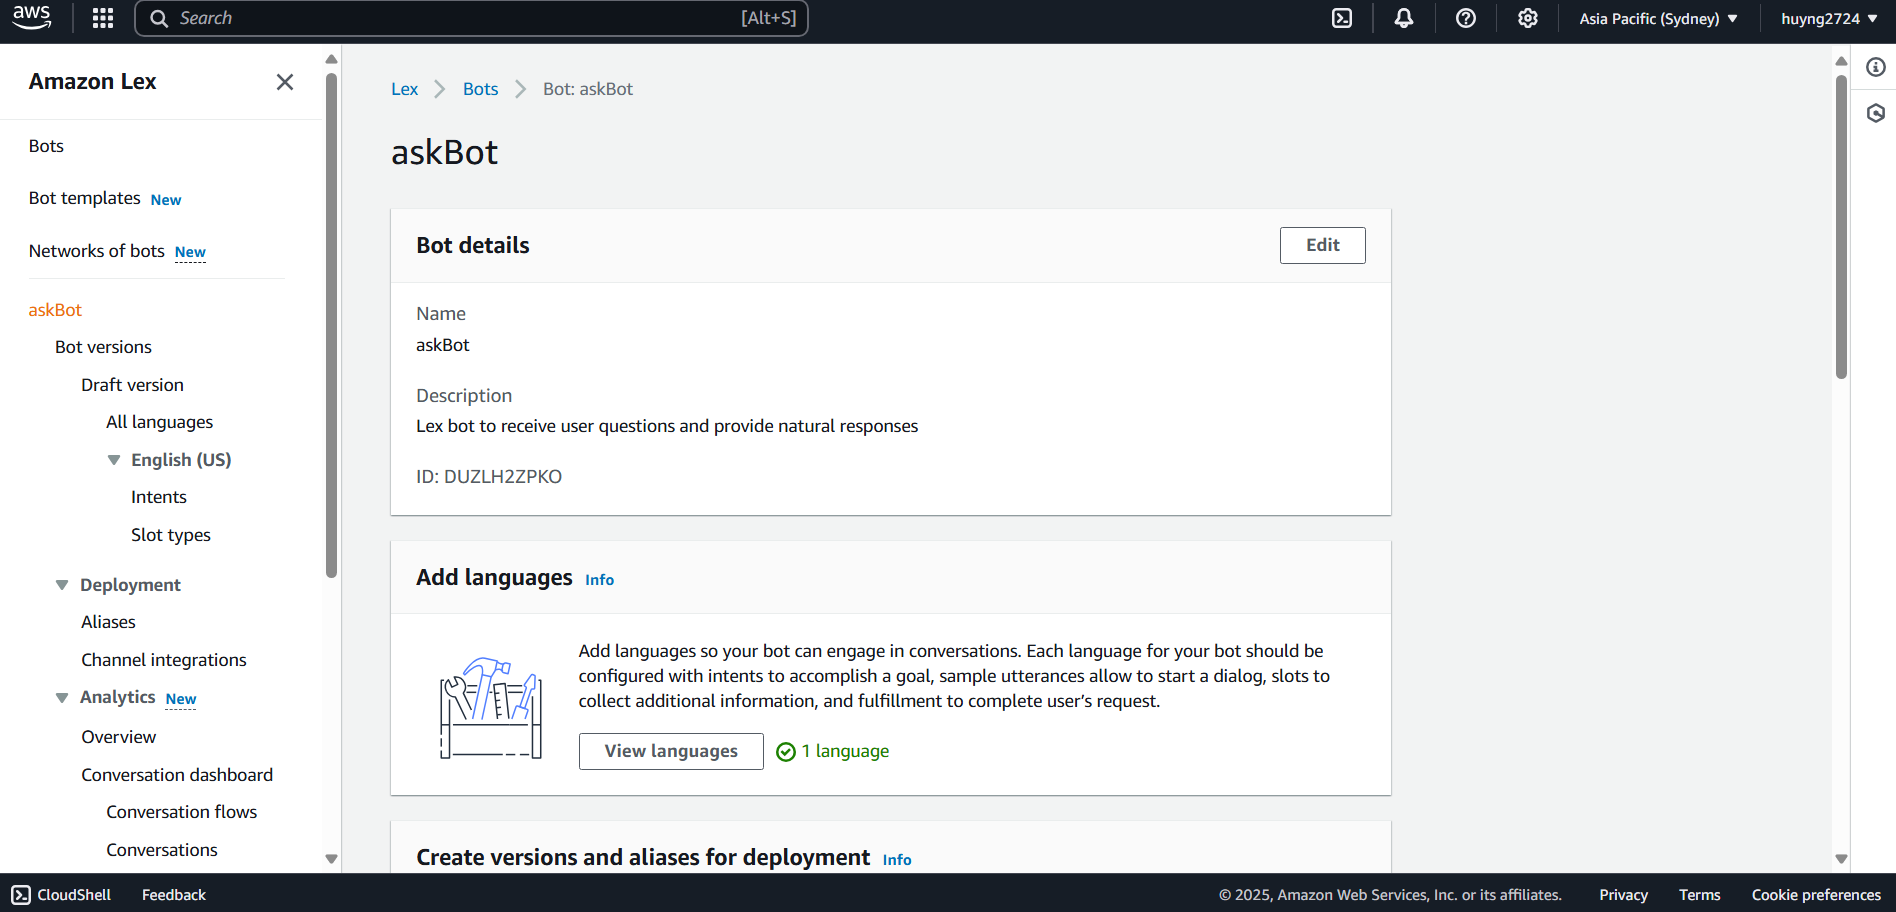
Step 3: Basic bot configuration
| Field | Value |
|---|---|
| Method | Create a blank bot |
| Bot name | askBot |
| IAM role | select the role you created |
| Description | Lex bot to receive user questions and provide natural responses. |
| Bot error logging | Enabled |
| COPPA | No |
Step 4: Language configuration
- Select language English (US).
- Voice interaction: None (we will use Polly separately).
- Click Next to finish.
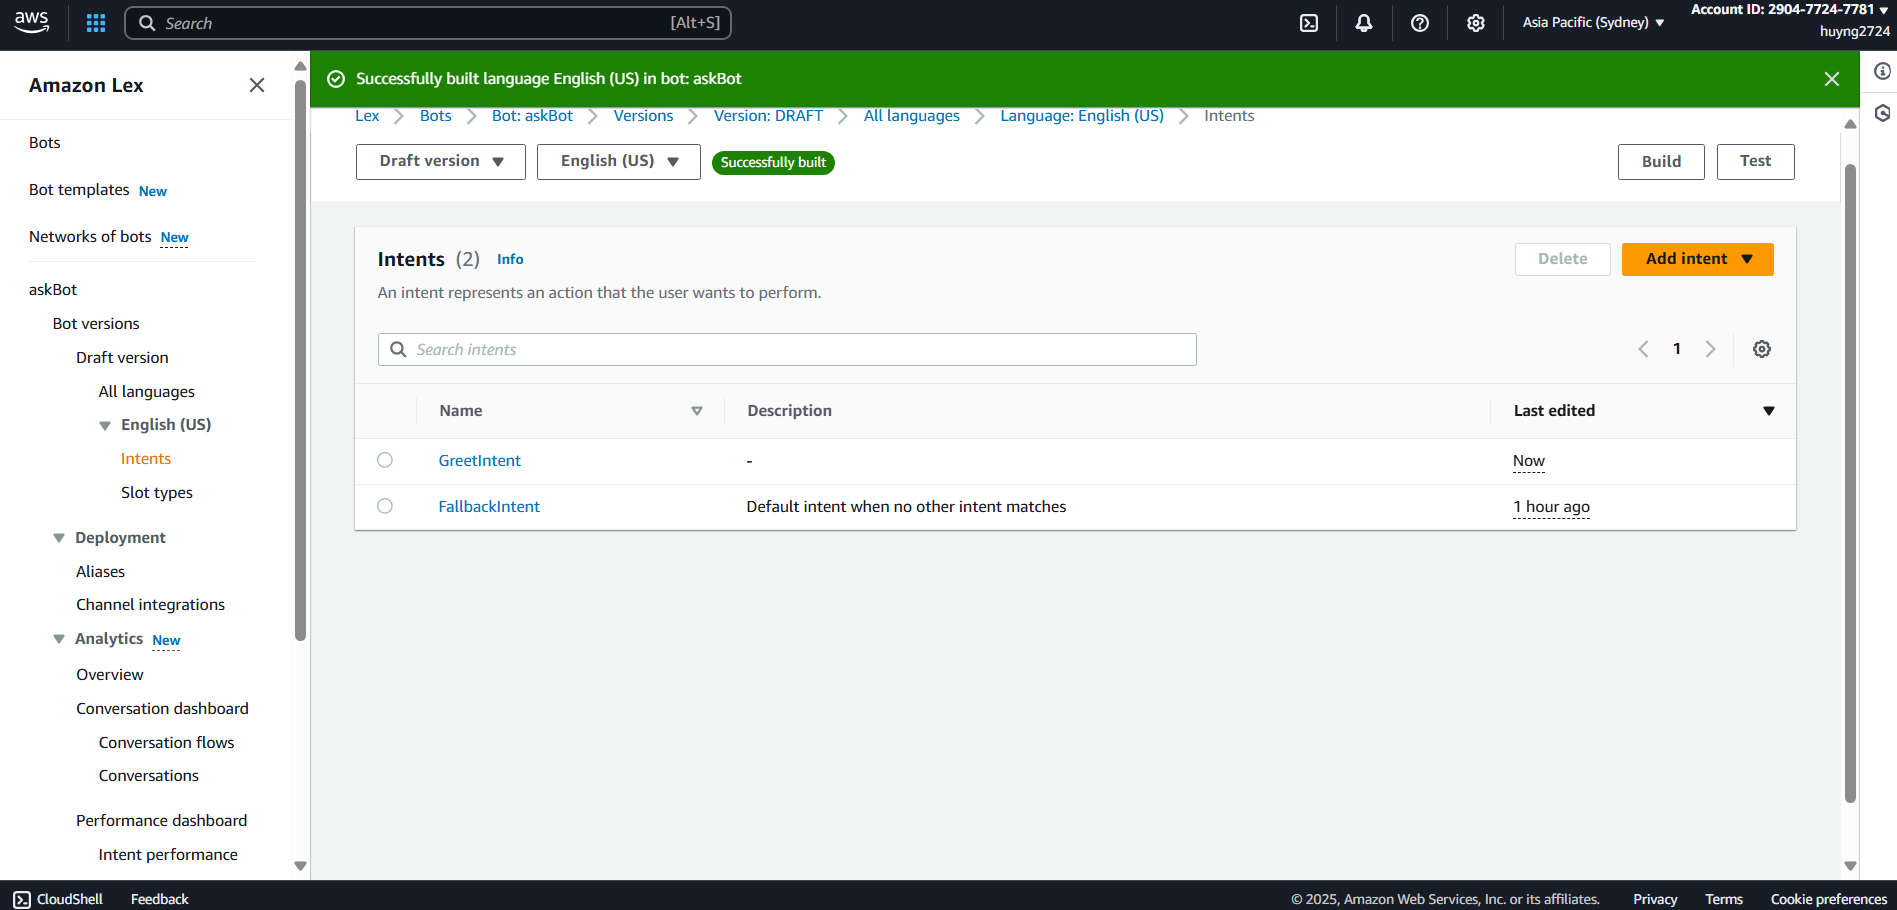
Step 5: Create Intent and add sample utterances
- In the bot configuration, select language
English (US)→ go to Intents. - Click + Add intent → select Add empty intent.
- Name the intent, for example:
GreetIntent. - Add Sample Utterances:
Hello
Hi
Hey there
Good morning
Set up the Response:
Hello! How can I help you today?
- Click Save to save the intent.
Step 6: Build bot language
- Go back to the main bot page, in the
English (US)tab → click Build to build the language. - Wait for the status to change to Built successfully.
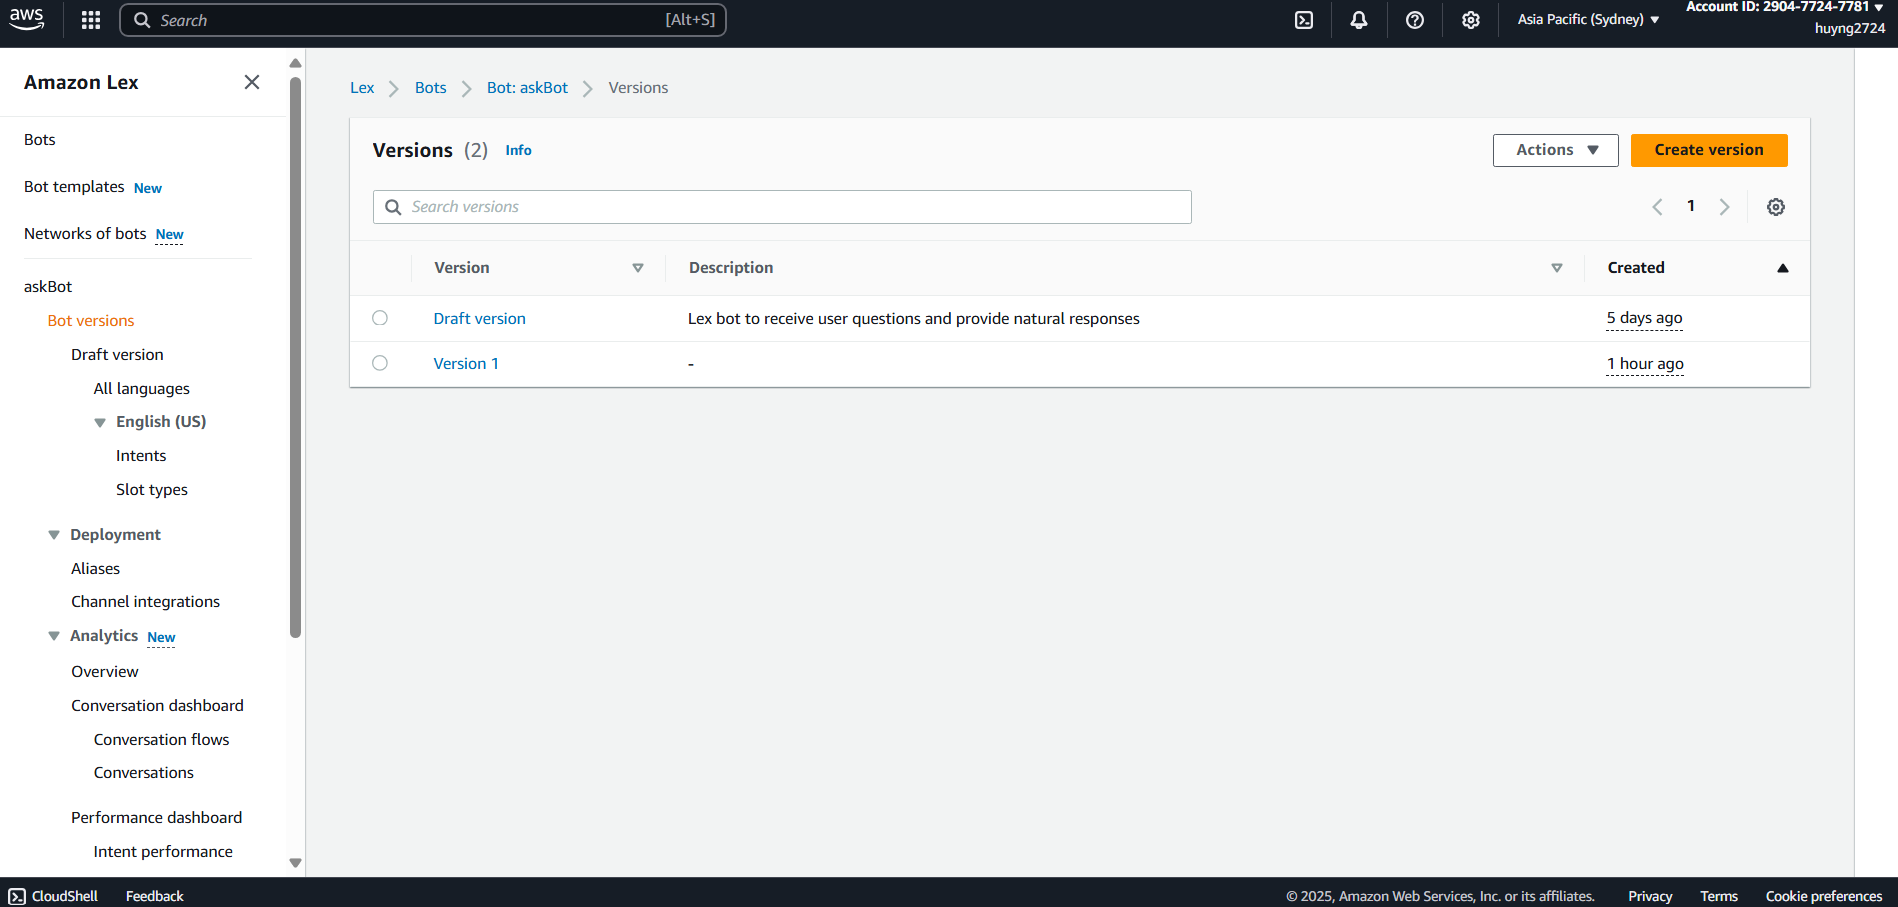
Step 7: Create Bot Version
- In the left menu, select Bot versions.
- Click Create version.
- (Optional) Enter a description for the version.
- Click Create.
After creation, you will see the new version displayed as Version 1, Version 2, etc.
Next, assign the version to an alias:
- Select Aliases from the left menu (under Deployment).
- Choose the alias you want to assign the version to (e.g.,
TestBotAlias). - Click Associate version with alias.
- Select the version you just created from the dropdown.
- Click Save.
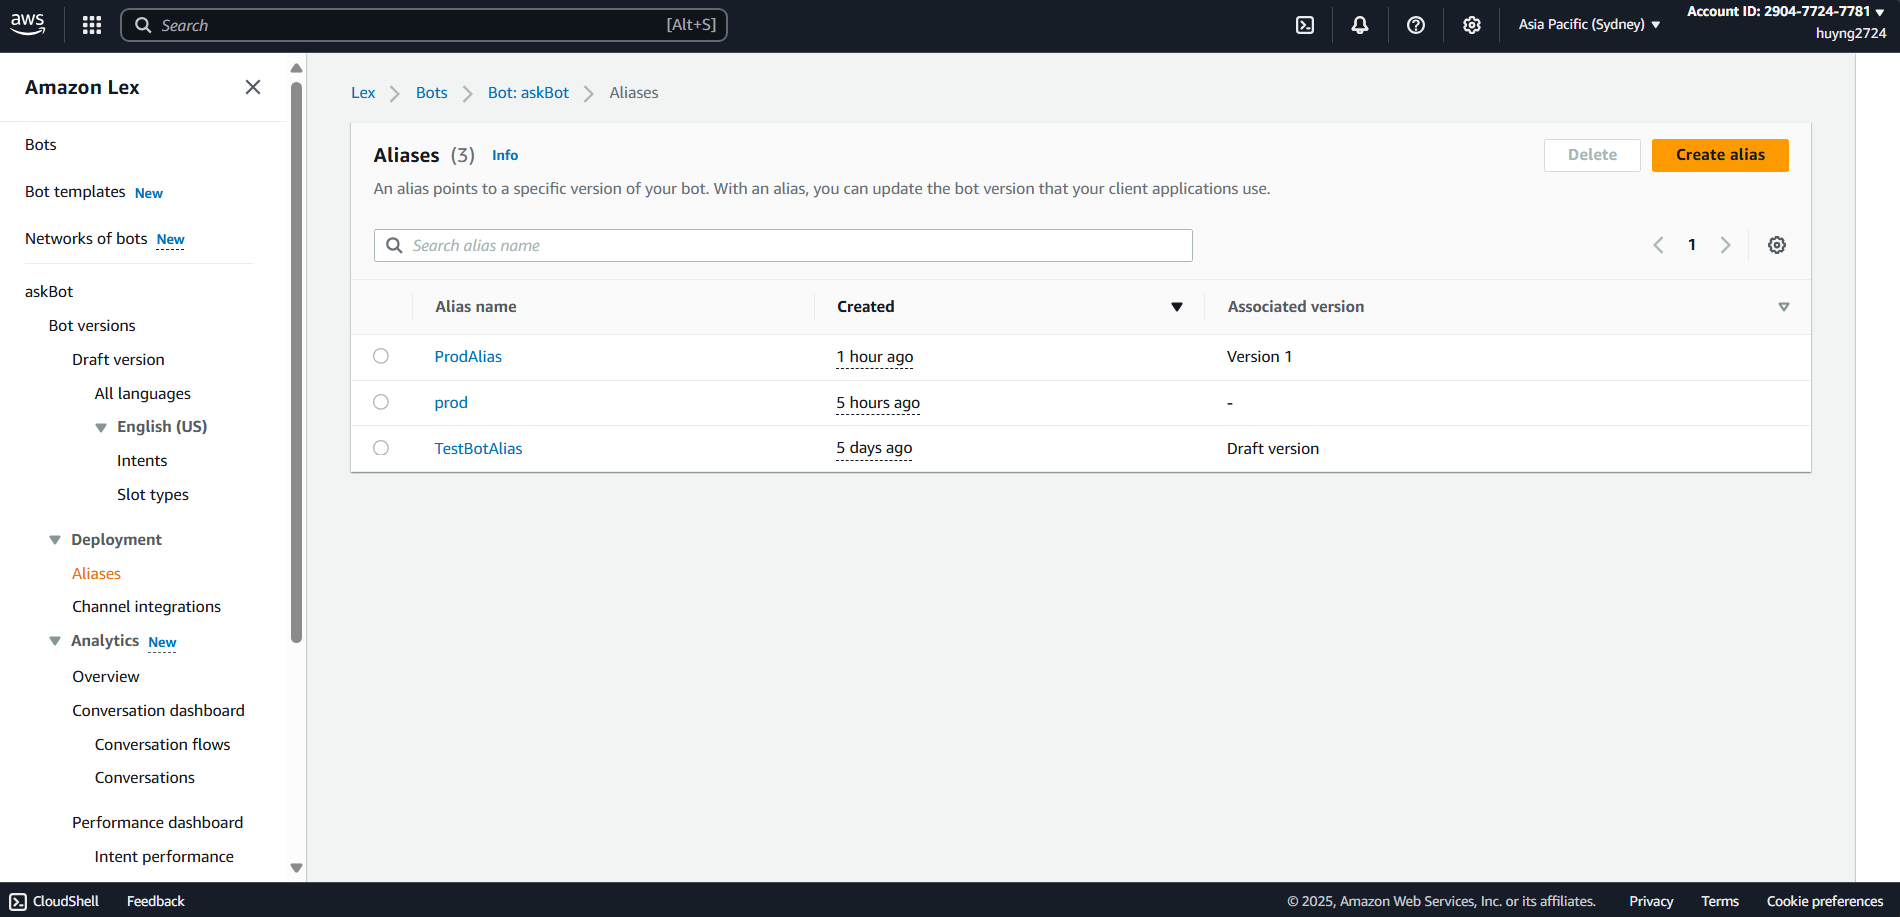
Now on the alias page you will see:
- Alias name: The alias name you set.
- Alias ID: The line showing
ID: TSTALIASID– this is theAlias ID, save this value for the next